Imagine peering through a lens, not just seeing, but truly discovering a hidden universe teeming with activity. A world usually invisible to the naked eye suddenly bursts into vibrant detail. This is the power of the compound microscope, a tool that has revolutionized our understanding of biology, medicine, and materials science. But beyond the simple act of looking, understanding the detailed design of this instrument unlocks even greater possibilities for exploration and discovery No workaround needed..
Have you ever wondered how scientists can see cells, bacteria, or even the smallest components of materials? The answer lies in the ingenious construction of the compound microscope. More than just a magnifying glass, it is a sophisticated optical instrument with multiple lenses working together to produce highly magnified images. In practice, understanding the diagram of a compound microscope, its various parts, and how they function is crucial for anyone venturing into the realms of scientific investigation. This knowledge empowers you to use the microscope effectively, troubleshoot problems, and appreciate the remarkable details it reveals.
Main Subheading
The compound microscope, a cornerstone of scientific exploration, derives its name from its use of multiple lenses to achieve high magnification. In practice, unlike a simple microscope, which relies on a single lens, the compound microscope employs an objective lens and an eyepiece lens, working in tandem to enlarge the image of a specimen. This two-stage magnification process allows for significantly higher levels of detail to be observed, opening up a world of microscopic structures that would otherwise remain invisible Which is the point..
The development of the compound microscope was a gradual process, with early versions appearing in the late 16th century. Credit for its invention is often given to Zacharias Janssen and his father Hans, Dutch spectacle makers, who experimented with multiple lenses in a tube. Still, the design was refined and popularized by scientists like Robert Hooke, who used a compound microscope to observe cells in cork, a discovery that laid the foundation for cell theory. Since then, the compound microscope has undergone numerous advancements, incorporating improved optics, illumination systems, and imaging technologies, making it an indispensable tool in countless scientific disciplines.
Comprehensive Overview
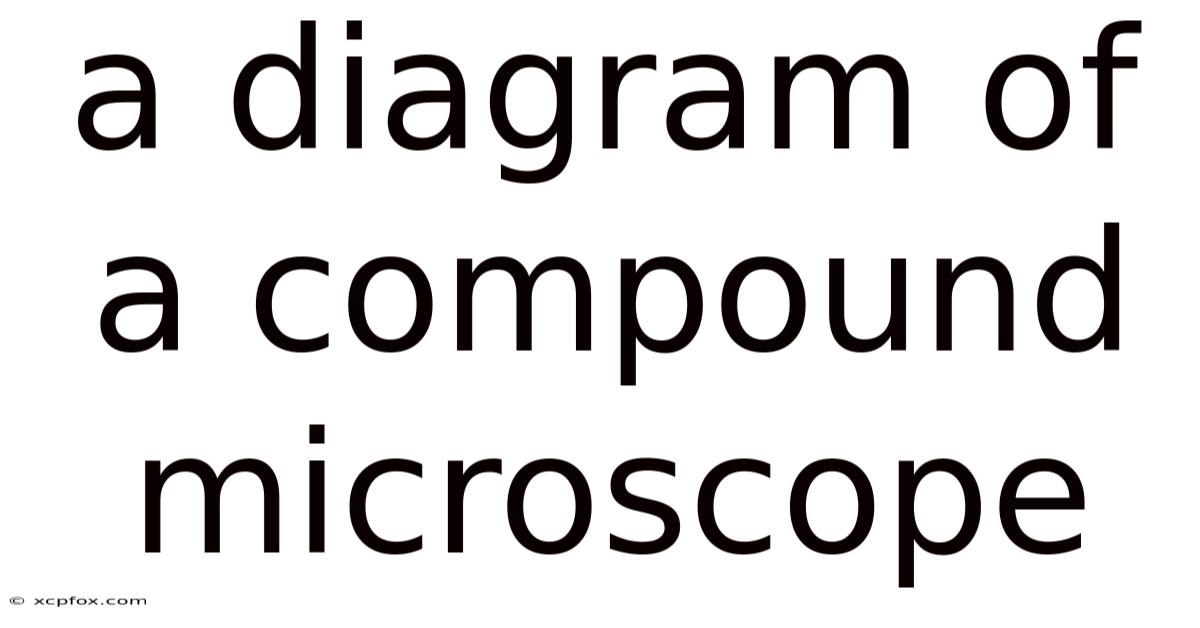
Understanding the diagram of a compound microscope is essential for its effective use and maintenance. Each component matters a lot in producing a clear and magnified image. Let's explore the key elements:
-
Eyepiece (Ocular Lens): This is the lens you look through to view the specimen. It typically provides a magnification of 10x, but other magnifications (e.g., 5x, 15x, 20x) are also available. The eyepiece contains a lens that focuses the image from the objective lens onto your retina.
-
Objective Lenses: These are the primary lenses responsible for magnifying the specimen. They are usually mounted on a rotating nosepiece, allowing you to select different magnifications. Common objective lens magnifications include 4x, 10x, 40x, and 100x (oil immersion). The objective lens collects light from the specimen and creates a magnified, real image inside the microscope.
-
Nosepiece (Revolving Turret): This rotating component holds multiple objective lenses, allowing for easy switching between different magnifications. It's designed for smooth and precise rotation to ensure proper alignment of the selected objective lens Simple, but easy to overlook. Turns out it matters..
-
Stage: This is the flat platform where the specimen slide is placed. It usually has clips to hold the slide in place and knobs to move the slide precisely in the X and Y axes (horizontally and vertically) for easy viewing of different areas of the specimen.
-
Condenser: Located beneath the stage, the condenser focuses light onto the specimen. It improves the illumination and sharpness of the image. The condenser can be adjusted vertically and often has an iris diaphragm to control the amount of light passing through the specimen, optimizing contrast and resolution.
-
Iris Diaphragm: This adjustable aperture is located within the condenser. It controls the amount of light that reaches the specimen, affecting the contrast and depth of field of the image. Closing the diaphragm increases contrast but can reduce resolution, while opening it increases brightness and resolution but may decrease contrast.
-
Light Source: This provides the illumination needed to view the specimen. Modern microscopes typically use LED or halogen lamps, which provide bright and consistent light. Older microscopes may use mirrors to reflect ambient light.
-
Coarse and Fine Focus Knobs: These knobs are used to adjust the distance between the objective lens and the specimen, bringing the image into focus. The coarse focus knob is used for large adjustments, while the fine focus knob is used for precise focusing, especially at high magnifications.
-
Base: The base is the supportive foundation of the microscope, providing stability and housing the light source and electronic components.
-
Arm: The arm connects the base to the head (body tube) of the microscope and is used for carrying the instrument.
The scientific foundations of the compound microscope lie in the principles of optics and lens design. Each lens is carefully crafted to refract light in a specific way, correcting for aberrations and maximizing image quality. Even so, the overall magnification of the microscope is calculated by multiplying the magnification of the objective lens by the magnification of the eyepiece lens. As an example, a 40x objective lens used with a 10x eyepiece results in a total magnification of 400x But it adds up..
Understanding these components is crucial for effective microscopy. In real terms, proper alignment of the condenser, adjustment of the iris diaphragm, and careful focusing are all essential for obtaining clear, high-resolution images. Without a solid grasp of the diagram of a compound microscope, users may struggle to achieve optimal results and may even damage the instrument.
You'll probably want to bookmark this section.
The principles behind image formation in a compound microscope involve a two-step magnification process. This real image is then further magnified by the eyepiece lens, which produces a virtual image that is viewed by the observer. First, the objective lens creates a magnified, real image of the specimen. The quality of the image is determined by several factors, including the numerical aperture of the objective lens, the wavelength of light used for illumination, and the correction of optical aberrations.
Trends and Latest Developments
The field of microscopy is constantly evolving, with new technologies and techniques emerging to push the boundaries of what is visible. Some of the most significant trends and latest developments include:
-
Digital Microscopy: The integration of digital cameras and software has revolutionized microscopy. Digital microscopes allow for real-time image capture, processing, and analysis. This has made it easier to document findings, share images, and perform quantitative measurements Less friction, more output..
-
Confocal Microscopy: This technique uses lasers and pinholes to create high-resolution, three-dimensional images of thick specimens. Confocal microscopy eliminates out-of-focus light, resulting in sharper and more detailed images.
-
Super-Resolution Microscopy: These techniques, such as stimulated emission depletion (STED) microscopy and structured illumination microscopy (SIM), overcome the diffraction limit of light, allowing for imaging at resolutions below 200 nanometers. This has enabled scientists to visualize cellular structures and processes with unprecedented detail Simple as that..
-
Electron Microscopy: While not technically a "compound" microscope in the traditional sense (as it uses electrons instead of light), electron microscopy continues to advance. Techniques like cryo-electron microscopy (cryo-EM) are allowing researchers to determine the structures of proteins and other biomolecules at near-atomic resolution.
-
Automated Microscopy: High-throughput screening and automated image analysis are becoming increasingly common in drug discovery and other areas of research. Automated microscopes can acquire and analyze large numbers of images with minimal human intervention, accelerating the pace of scientific discovery.
According to recent reports, the global microscopy market is expected to continue growing in the coming years, driven by increasing demand from the healthcare, pharmaceutical, and materials science industries. The development of new and advanced microscopy techniques is also fueling market growth. Professional insights suggest that the future of microscopy will be characterized by greater integration of artificial intelligence (AI) and machine learning (ML) for image analysis and automated data processing. This will enable researchers to extract more information from microscopic images and make new discoveries more quickly.
Tips and Expert Advice
To get the most out of your compound microscope and ensure optimal performance, consider the following tips and expert advice:
-
Proper Illumination is Key: Start by adjusting the light source and condenser to achieve optimal illumination. The goal is to provide even and bright light across the field of view. Adjust the iris diaphragm to control the amount of light and contrast. Remember that too much or too little light can negatively impact image quality.
An experienced microscopist knows that proper illumination is not just about brightness. It's about achieving the right balance of contrast and resolution. Experiment with different settings to find what works best for your particular specimen and objective lens. Koehler illumination, a technique that optimizes the light path, is highly recommended for achieving optimal image quality That's the part that actually makes a difference..
-
Master Focusing Techniques: Learn how to use the coarse and fine focus knobs effectively. Start with the lowest magnification objective lens and use the coarse focus knob to bring the image into rough focus. Then, use the fine focus knob for precise focusing. When switching to higher magnification objective lenses, only small adjustments with the fine focus knob should be needed.
Focusing is an art as much as it is a science. Consider this: practice makes perfect. Pay attention to the depth of field at different magnifications. Higher magnification objective lenses have a shallower depth of field, meaning that only a thin slice of the specimen will be in focus at any given time. Use the fine focus knob to carefully scan through the different layers of the specimen Which is the point..
-
Understand Objective Lens Properties: Each objective lens has unique properties, including magnification, numerical aperture (NA), and working distance. The NA determines the resolving power of the lens, while the working distance is the distance between the lens and the specimen when it is in focus. Choose the appropriate objective lens for your specific application.
Knowing the specifications of your objective lenses is essential for achieving optimal results. And a higher NA objective lens will provide better resolution but may have a shorter working distance. Oil immersion objective lenses (typically 100x) require the use of immersion oil between the lens and the specimen to increase the NA and improve image quality.
-
Proper Specimen Preparation: The quality of the specimen preparation significantly impacts the quality of the microscopic image. make sure your specimens are properly fixed, stained, and mounted on slides. Use appropriate mounting media to preserve the specimen and prevent it from drying out.
Specimen preparation is often the most critical step in microscopy. Poorly prepared specimens can result in blurry images, artifacts, and inaccurate results. Which means follow established protocols for specimen preparation carefully. Experiment with different staining techniques to enhance the contrast of specific structures Took long enough..
-
Regular Maintenance and Cleaning: Keep your microscope clean and well-maintained. Dust and dirt can accumulate on the lenses and other components, reducing image quality. Clean the lenses regularly with lens paper and appropriate cleaning solutions. Keep the microscope covered when not in use to protect it from dust and damage Worth keeping that in mind..
Regular maintenance is essential for prolonging the life of your microscope and ensuring optimal performance. Avoid touching the lenses with your fingers, as this can leave oily residue that is difficult to remove. Have your microscope professionally serviced periodically to see to it that it is properly aligned and functioning correctly.
FAQ
Q: What is the difference between a simple microscope and a compound microscope?
A: A simple microscope uses a single lens for magnification, while a compound microscope uses two or more lenses (objective and eyepiece) to achieve higher magnification and better image quality Simple as that..
Q: What does "magnification" mean in microscopy?
A: Magnification is the process of enlarging the apparent size of an object. In a compound microscope, the total magnification is calculated by multiplying the magnification of the objective lens by the magnification of the eyepiece lens But it adds up..
Q: What is numerical aperture (NA)?
A: Numerical aperture is a measure of the light-gathering ability of an objective lens. Higher NA values indicate better resolution and brighter images.
Q: What is immersion oil used for?
A: Immersion oil is used with high-magnification objective lenses (typically 100x) to increase the numerical aperture and improve image quality. The oil has a refractive index similar to that of glass, which reduces light scattering and allows more light to enter the objective lens Simple as that..
Q: How do I clean the lenses of a microscope?
A: Use lens paper and appropriate cleaning solutions (such as a mixture of alcohol and ether) to gently clean the lenses. Avoid using abrasive materials or household cleaners, as these can damage the lens coatings Worth keeping that in mind..
Conclusion
Understanding the diagram of a compound microscope is more than just memorizing names; it's about grasping the fundamental principles that help us explore the microscopic world. From the objective lenses that capture the initial magnified image to the eyepiece that brings it into focus for our eyes, each component plays a vital role. By mastering the operation and maintenance of this essential instrument, you access a powerful tool for scientific discovery Turns out it matters..
The official docs gloss over this. That's a mistake Not complicated — just consistent..
Now that you have a comprehensive understanding of the compound microscope, we encourage you to delve deeper into the world of microscopy. Explore different techniques, experiment with various specimens, and share your findings with the scientific community. Consider this: your journey into the microscopic realm awaits! Start by revisiting the diagram of a compound microscope and familiarizing yourself with each component. Then, take your knowledge to the lab and begin exploring!
Not the most exciting part, but easily the most useful.